There are some questions we get asked a lot here at Showcase.
"How did we ever live without this app??"
"Why didn't we do this sooner?"
"Can I have a t-shirt??" (the answer to that one is yes you can, if you take 12 minutes to review us and then email us your t-shirt size).
One of the more practical queries however is:
"Can I download my showcase onto a USB drive...and plug it in to a random computer in my prospect's boardroom...so that I can project it onto a big screen?"
A reasonable request - after all, that's what you can do with a Powerpoint! And Showcase is like Powerpoint on steroids.
However, you unfortunately can't yet simply "plug and play" a showcase on any computer in the world. With Powerpoint, there is a Powerpoint file; and then the Powerpoint application (app) to run it with. Most computers in the world have some version of the Powerpoint app, or some kind of "reader" app that will accept Powerpoint files. Showcase is, sadly, not yet at that level of world domination that our presentation files are accepted on any computer without question (trust us though, we're working on it).
That being said, there's a ton of ways you can project your beautiful showcases - or any app - onto a bigger screen. There is no built-in, specific projection option within the Showcase app, but there are still many ways you can share or cast your screen somewhere while Showcase is running. It depends a lot on what kind of device you are using, and what other resources you have at your disposal.
I'm going to run through some methods of projecting your device's screen (and, therefore, Showcase) for different platforms. Warning: technical detail ahead!
Projecting from an iPad or iPhone
Method 1: With a cable
This is a bit fiddly, as you need two pieces of kit. The first piece is a "Digital AV Adapter" from Apple; this is a short cable that plugs into the lightning connection at the bottom of your iPad or iPhone and has a jack for an HDMI cable at the other end.
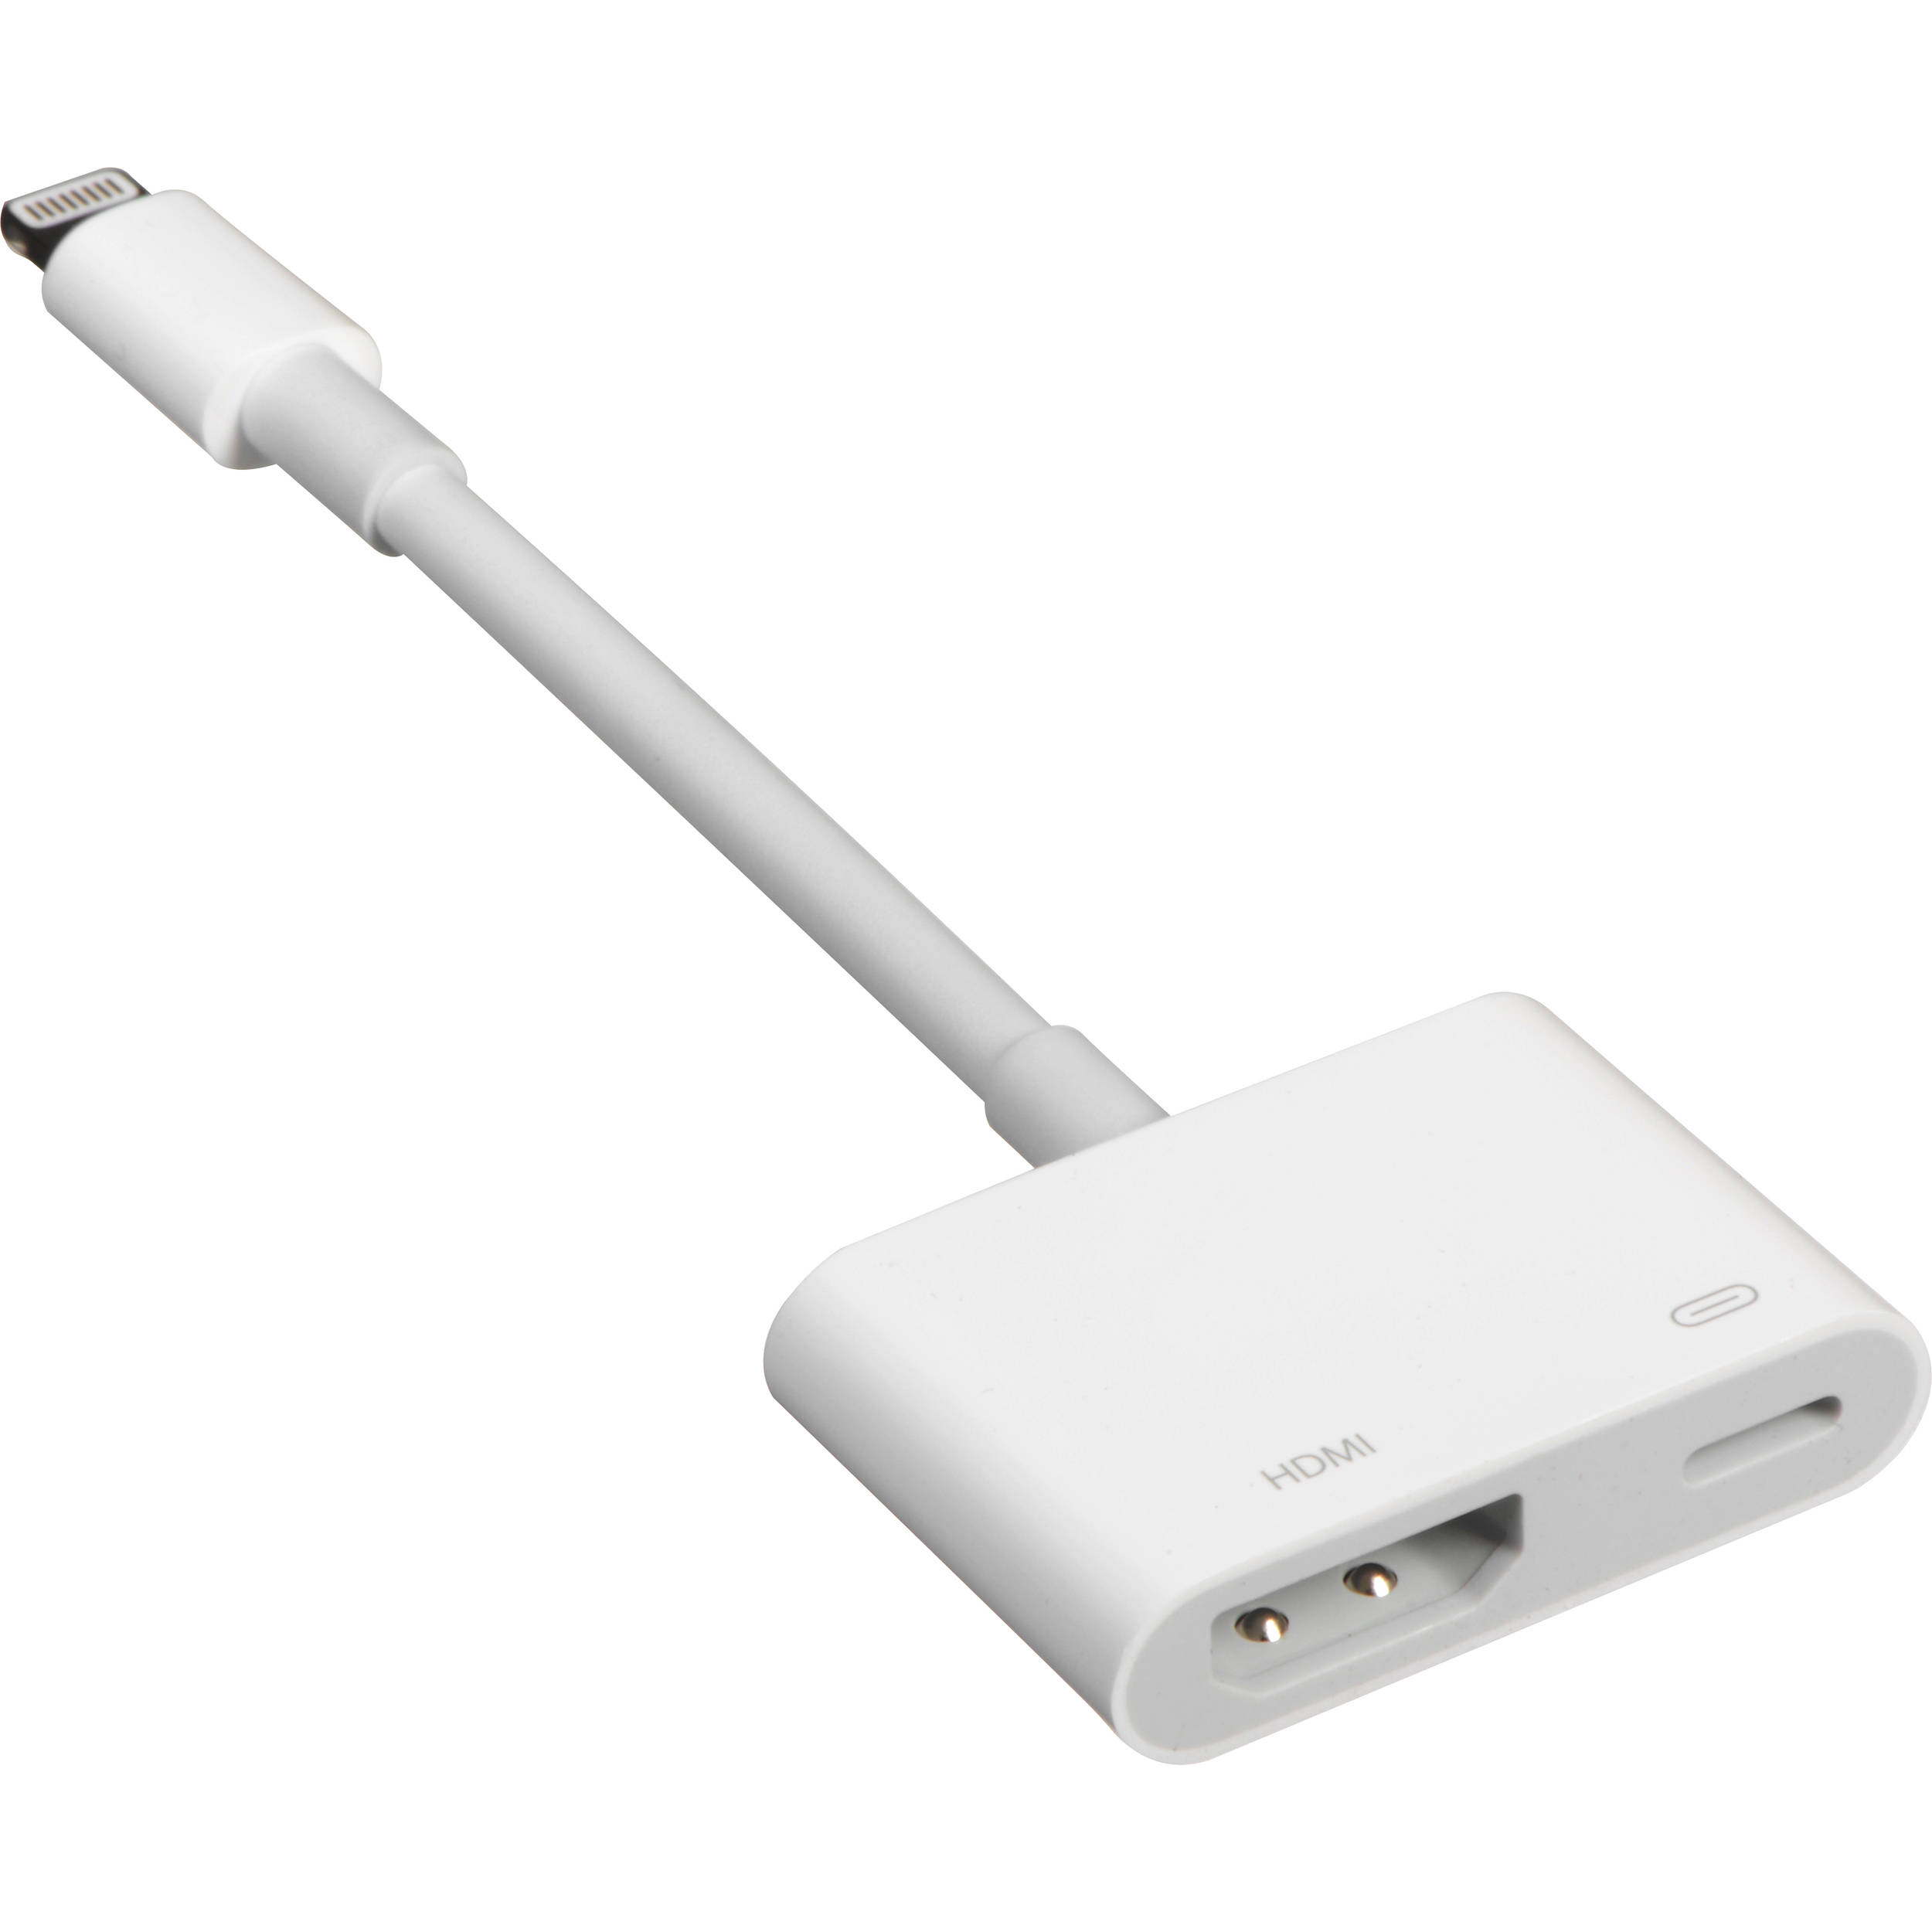
This means that you then have to also have an HDMI cable to plug into the projector or TV.
There have been occasional bugs reported with the adapter on certain versions of iOS, so if using this method, ensure you are on the latest version of the iOS operating system on your iPad or iPhone (by going to Settings > General > Software Update).
The upside of using this method is that you don't have to rely on WiFi networks/wireless connectivity to get it going. The downside is...two cables.
Method 2: AirPlay
AirPlay is Apple's proprietary method of mirroring screens and is done over WiFi - so you need your iPad/iPhone + another device to be connected to the same WiFi network. That "other device" also needs to be AirPlay compatible.
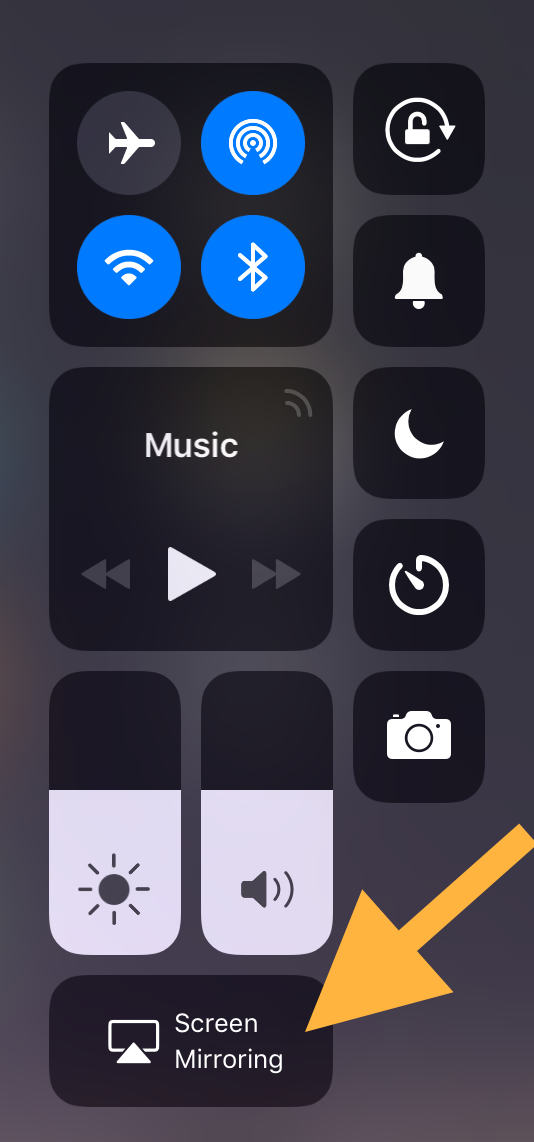
Other Apple devices, like Mac computers, are AirPlay compatible by default. So if you want to project to a Mac computer, which is itself hooked up to a big screen, you can go to System Preferences > Display > AirPlay Display and pick your iPad/iPhone from the dropdown (if it's not showing up, open the Control Center on your iPad or iPhone - usually done by swiping diagonally 'in' from the top right corner of the screen - and look for the AirPlay/"Screen Mirroring" option).
You can also AirPlay to an Apple TV unit that is plugged in to a screen. This works much the same way - if you have an Apple TV turned on & connected to the same WiFi network, in the same room, you should be able to select "Apple TV" from the list of options under "Screen Mirroring" in the Control Center on your iPad or Iphone.
While Mac computers and Apple TVs are AirPlay compatible by default, you may instead want to connect to a Windows PC, which does not have a built-in AirPlay capability. In this case, you may want to look into AirServer - software which adds AirPlay to Windows PCs. AirServer has a license cost of $20 USD.
If neither of these iPad & iPhone options are sounding good to you, don't lose hope - there are more options out there that don't involve using Showcase Workshop on your iPad/iPhone specifically.
Projecting from a Windows tablet or laptop
Your own device might be a Windows computer - a laptop, or a Microsoft Surface tablet, for example.
The following suggestions apply to all Windows machines - Dell, Acer, Microsoft, Lenovo, etc - and it doesn't matter if it's a tablet, laptop, hybrid, or even a desktop computer.
You'll first need to install one of our Windows apps. Once that is up and running on your screen, that same screen will show up anywhere it's projected.
So it's a matter of connecting your own Windows laptop or tablet, with the Showcase app running, to a prospect's screen or projector. Again, there are a couple of ways you can do this.
Method 1: HDMI Cable
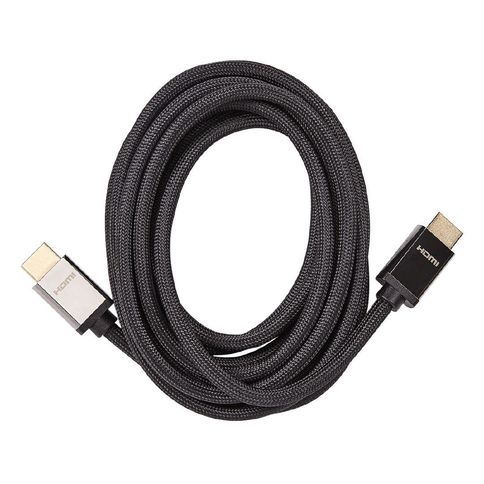
Many standard Windows laptops will have an HDMI port - it looks like this:
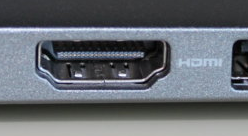
Many projectors, also, will have an HDMI port. So a simple HDMI cable like the one above would be all you need. Your prospect's office may have an HDMI cable handy, but they are relatively inexpensive to purchase and carry with you.
Method 1a: HDMI Cable (with Mini DisplayPort)
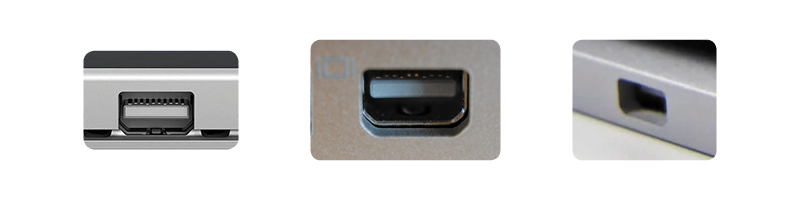
If you've inspected your Windows device all over and can't see an HDMI port, it may not have one - lightweight devices sometimes sacrifice the HDMI in favour of the "Mini Display Port", which looks more square. It can be a little non-descript on some devices:
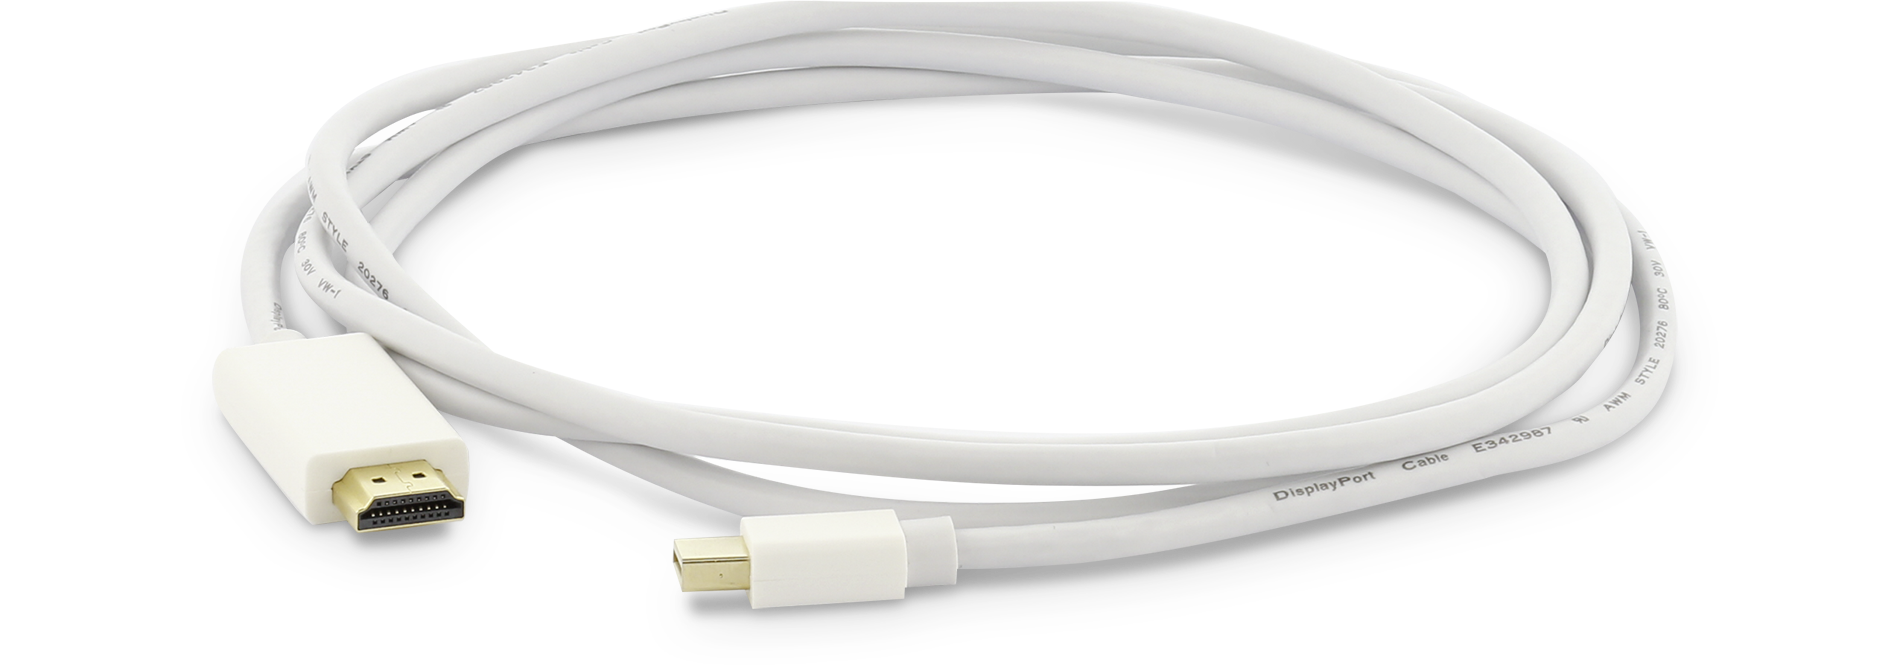
You can still connect this port to an HDMI port on a TV or projector - you just need a slightly different kind of cable, either a "Mini DisplayPort to HDMI" cable...
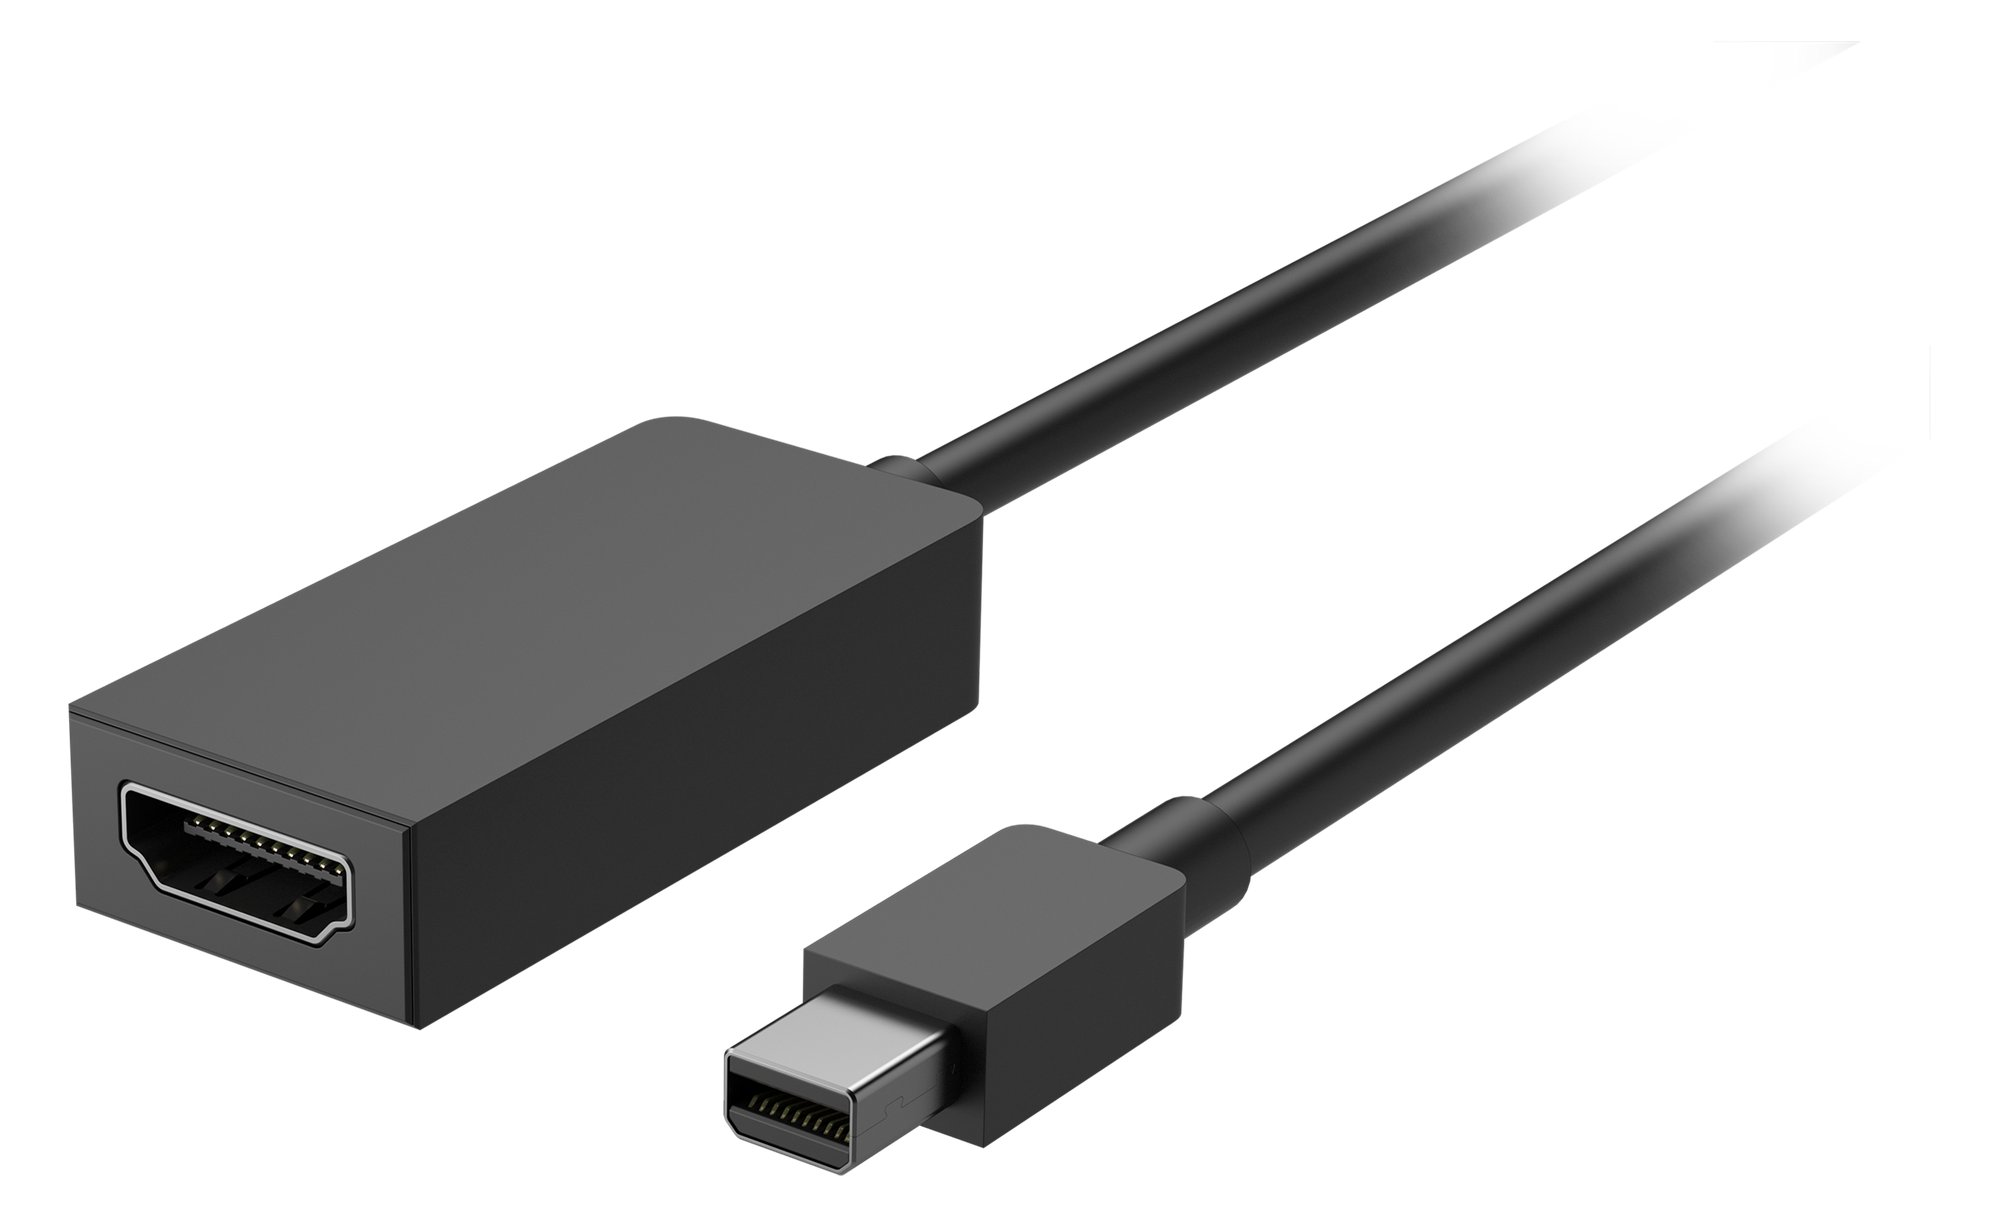
...or, a "Mini DisplayPort to HDMI" adaptor, which a standard HDMI cable then plugs into.
Method 2: Wireless / Miracast
Just like Apple has a wireless projection / screen mirroring option with Airplay, there is also a wireless option for Windows, called Miracast. Modern tablets or laptops running Windows 10 will have Miracast built in. However, the projector or TV you want to use will also need to have Miracast as well. Many modern, "smart" TVs and projectors will already have this feature.
There's a relatively easy way to check - on your Windows laptop or tablet, go to your keyboard and hit the Windows logo key + P. This will open a panel with projection options, including "Connect to a wireless display" down the bottom:
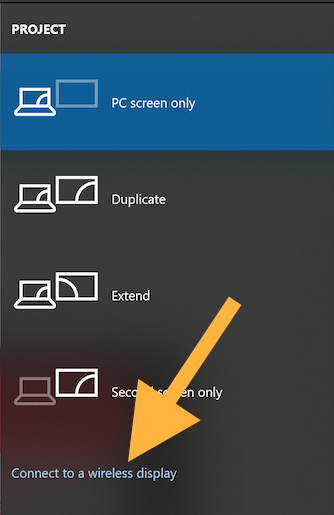
If there's a compatible device nearby, it should show up in the list, and then you can select that to project to.
Projecting from an Android phone or tablet
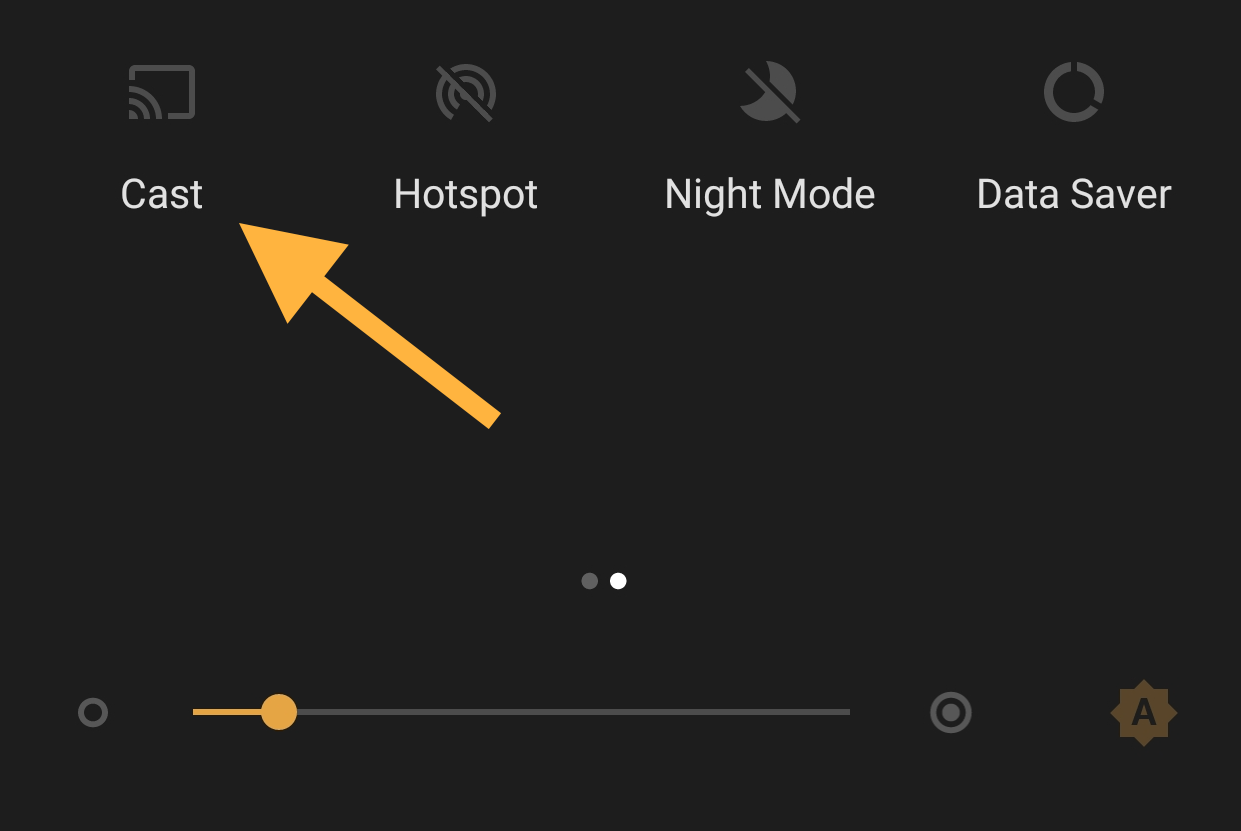
Almost all Android devices have a built-in 'Cast' or "Screen Mirroring" function, accessible via Settings. So, if there is a WiFi connection available, you can cast your Android tablet to a WiFi-enabled smart TV. Both devices have to be on the same network; then you can turn casting 'On' on your Android device, and select the TV from the list of options that appears.

You can also "Cast" to a Chromecast that is connected to a TV or screen. Again, both your device and the Chromecast have to be on the same WiFi network in order for casting to function successfully.
Projecting from a device that's not yours
You may not be able to connect your own iPad, iPhone, Windows computer or Android to a projector or screen, but if notified in advance, your host may be amenable to downloading the Showcase app themselves, so you can log in and present from that.
If you can't connect your own device, and your host doesn't want to install the Showcase app either, but there is a reliable WiFi connection in the location you want to present, you could consider sharing the entire showcase with your prospect via Email Pitch, and presenting the "Shared" showcase on a web browser, while that web browser is projected. Just bear in mind that the web view may be slightly slower, and HTML Zips will not appear on it.
And that's it! That's all the ways (that we know of so far) to project your device's screen onto a bigger screen. Hopefully, there's an option in here that suits you, for showing off Showcase to the masses.
Cover photo by Jeremy Yap