If you’re ready to move to Showcase for all your sales presentations — but your existing materials are in PowerPoint — you’ll be happy to know it’s easy to export sales presentations from PowerPoint to Showcase.
For new materials, our customers often hire a designer and they can set up new documents to exactly match Showcase's slide dimensions in pixels.
However, if you’re trying to export your own images from PowerPoint, and finding that the backgrounds do not fit perfectly in the Showcase frame, there’s a step-by-step process that can eliminate the blank space and create a perfect Showcase experience.
1. Find your Showcase presentation dimension in pixels
First, we need to figure out the pixel dimensions of the Showcase you are building.
You can see this by selecting "Background" from the top toolbar for the showcase you are editing — the dimensions are specified down the bottom of the panel, next to the 'information' symbol.
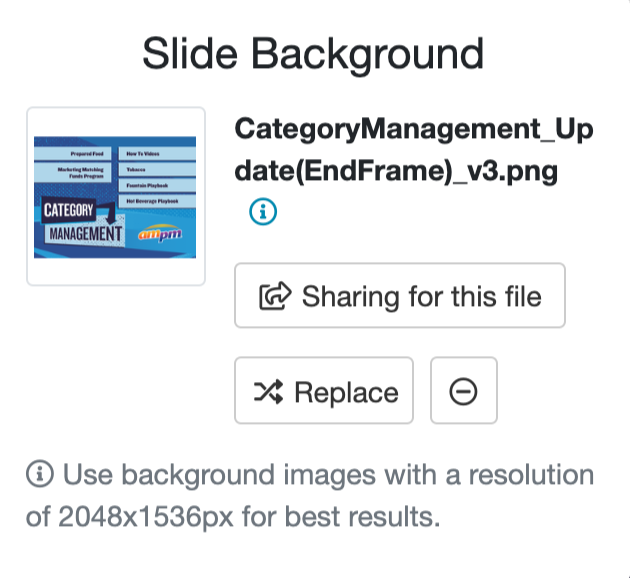
If you're creating a showcase from scratch and you're fine with the default ratio of 4:3, the pixel dimensions you'll want are 2048 x 1536. This resolution looks great on a wide range of devices. The instructions below use 4:3 resolution as an example but you can also design for 16:9 (2048 x 1152) and 3:2 (2048 x 1365) if you want to.
Your next step depends on whether you are using Mac OS or Windows.
Export slides from Powerpoint to Showcase (Windows instructions)
Let's start with the Windows steps. On recent versions of PowerPoint, you should find the option "Slide size" under the "Design" tab. On earlier versions of PowerPoint, similar controls may be found under "Page Layout".
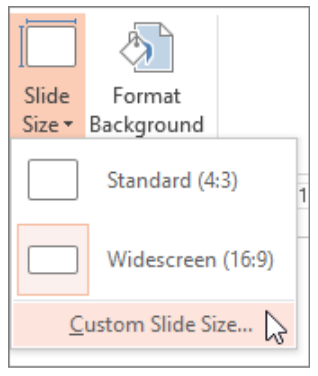
We want the "Custom Slide Size" option as highlighted. On the window that appears, choose your dimensions in centimetres. This can get tricky to work out, as the Showcase dimensions are specified in pixels, but for 2048 x 1536 pixels, try 54.4 cm x 40.8 cm.

Now it's time to save the images.
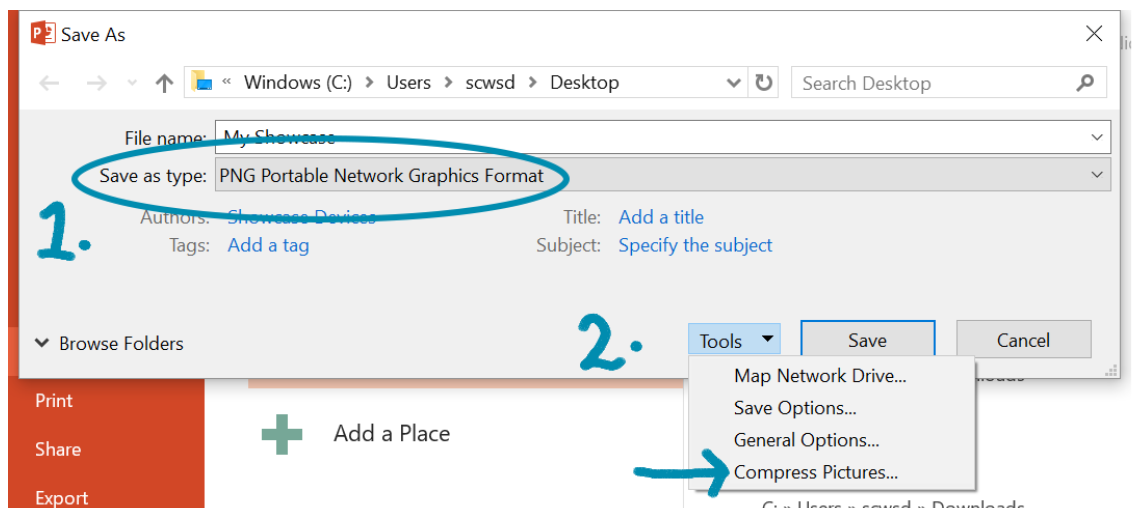
Go to File > Save as.
You want to choose the file format as PNG.
Once done, click 'Tools' next to the Save button, and then "Compress pictures" down the bottom.
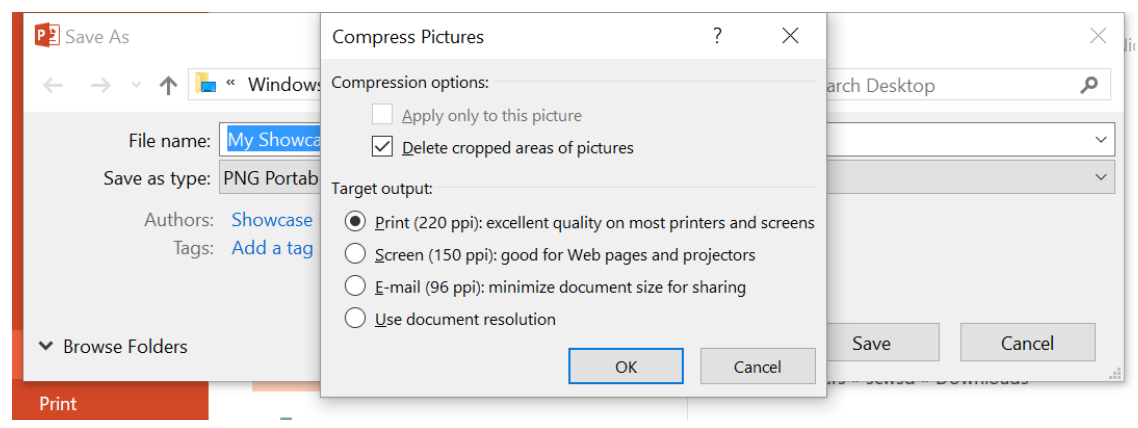
Set the compression to 220ppi.
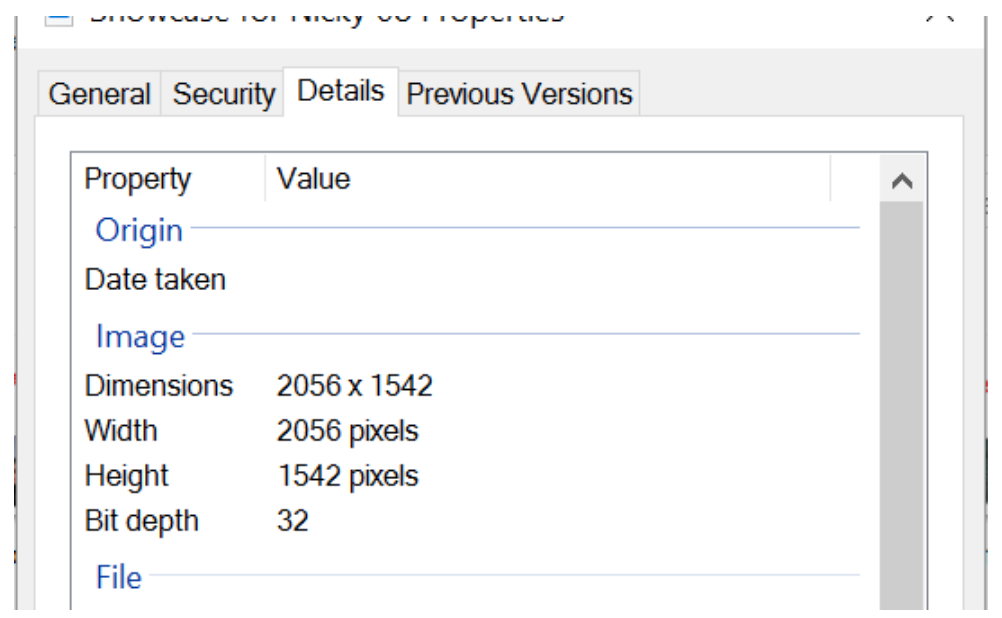
Once saved, you can check the resulting dimensions from Windows Explorer by selecting the image and choosing "Properties."
You can see this one is pretty close to the 2048 x 1536 we need — if it's slightly bigger, that's fine, as it will still scale down when in the showcase.
You can now add this image to your slide background.
Export slides from Powerpoint to Showcase (Mac instructions)
If you’re using PowerPoint for Mac, the process is slightly simpler.
You can still determine "Slide Size" from the Toolbar, but this time it is under the "Themes" tab:

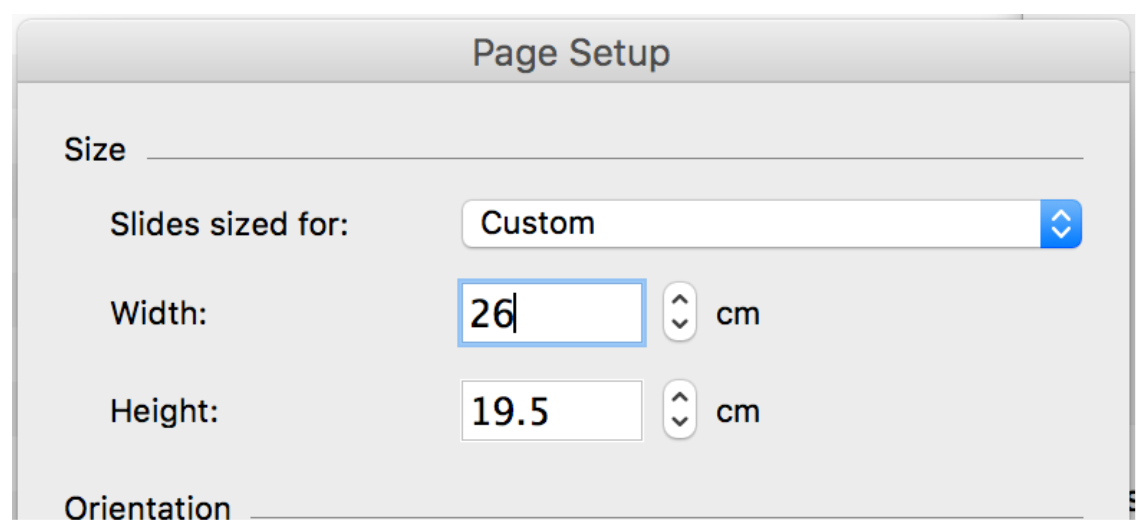
And for Mac, you specify your custom slide size as 26 cm x 19.5 cm.
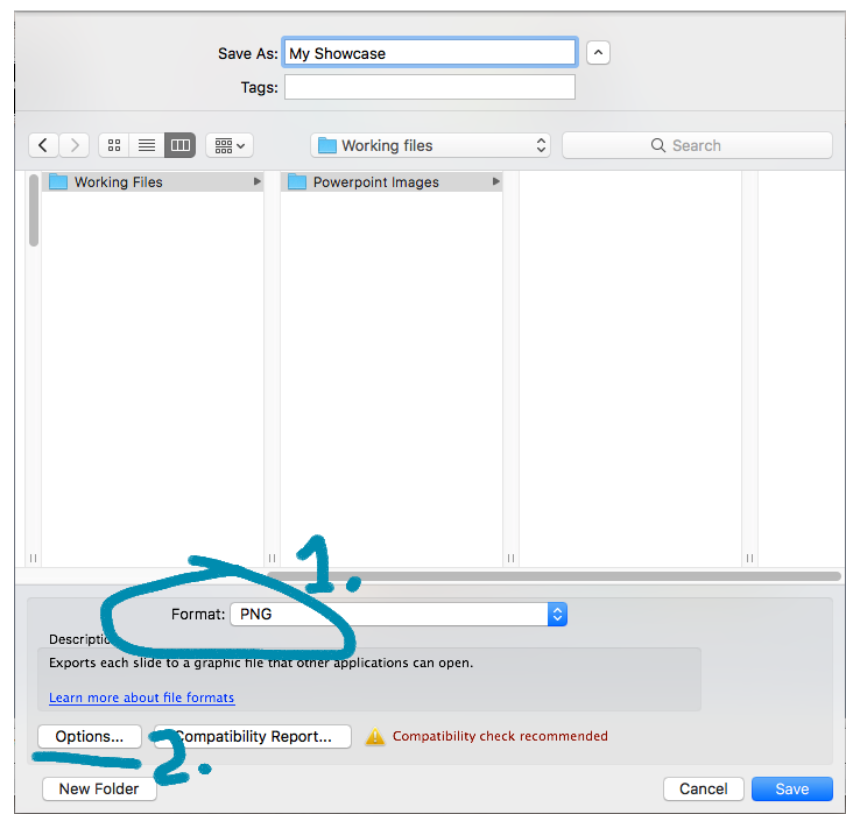
Once done, you also use Save As > and select PNG as the file type. Then, choose "Options" from the bottom left of the Save dialog.
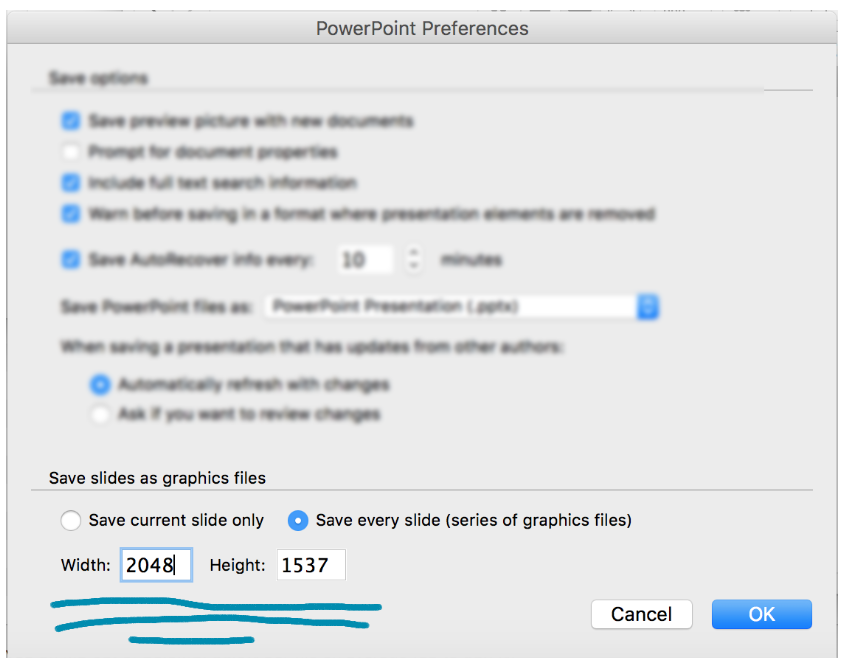
In the following dialog, you will be able to specify exact pixel dimensions from the area down the bottom. So here is where you can choose 2048 x 1536, or whichever dimensions you decided to work in. Sometimes these numbers will default to one pixel out due to rounding — that's ok!
You can now add these images as well to your slide backgrounds in showcase, and they should fit nicely, filling up the screen.
So, while it does require that little extra step to define the right size, exporting your PowerPoint images to Showcase is actually very easy, and once they’re in the Showcase app, you’ll ensure a seamless presentation experience for you and your users.
Want a bit more help? Schedule a Power Half Hour and let us help you make magic.
---
Other Powerpoint related content from Showcase Workshop:
- PowerPoint vs. Showcase: The Ultimate Presentation Software Faceoff
- 5 Steps to Avoid “Death by Powerpoint” and Make Your Sales Meetings More Profitable