Showcase is an all in one information station. You can organise and store all the documents and presentations you need in the same place without having to search through folders, google drive, or private servers because well, who has time for that?
But sometimes there’s information that is for private eyes only.
You don’t really want to exclude this information from your showcase because that defeats the purpose of using this awesome all in one tool (Showcase, woohoo).
You may not have known this but within Showcase you can build a mini fortress for your information that everyone might not be privy to. There are a few options here, so let’s take a peep into them.
Pin Protect:
Just like your phone or your bank card, PIN protect is the barrier between other people and your precious info. Now, we’re not the iPhone X so I can’t manoeuvre your showcase to recognise your face unfortunately, but we can put an extra layer of protection in.
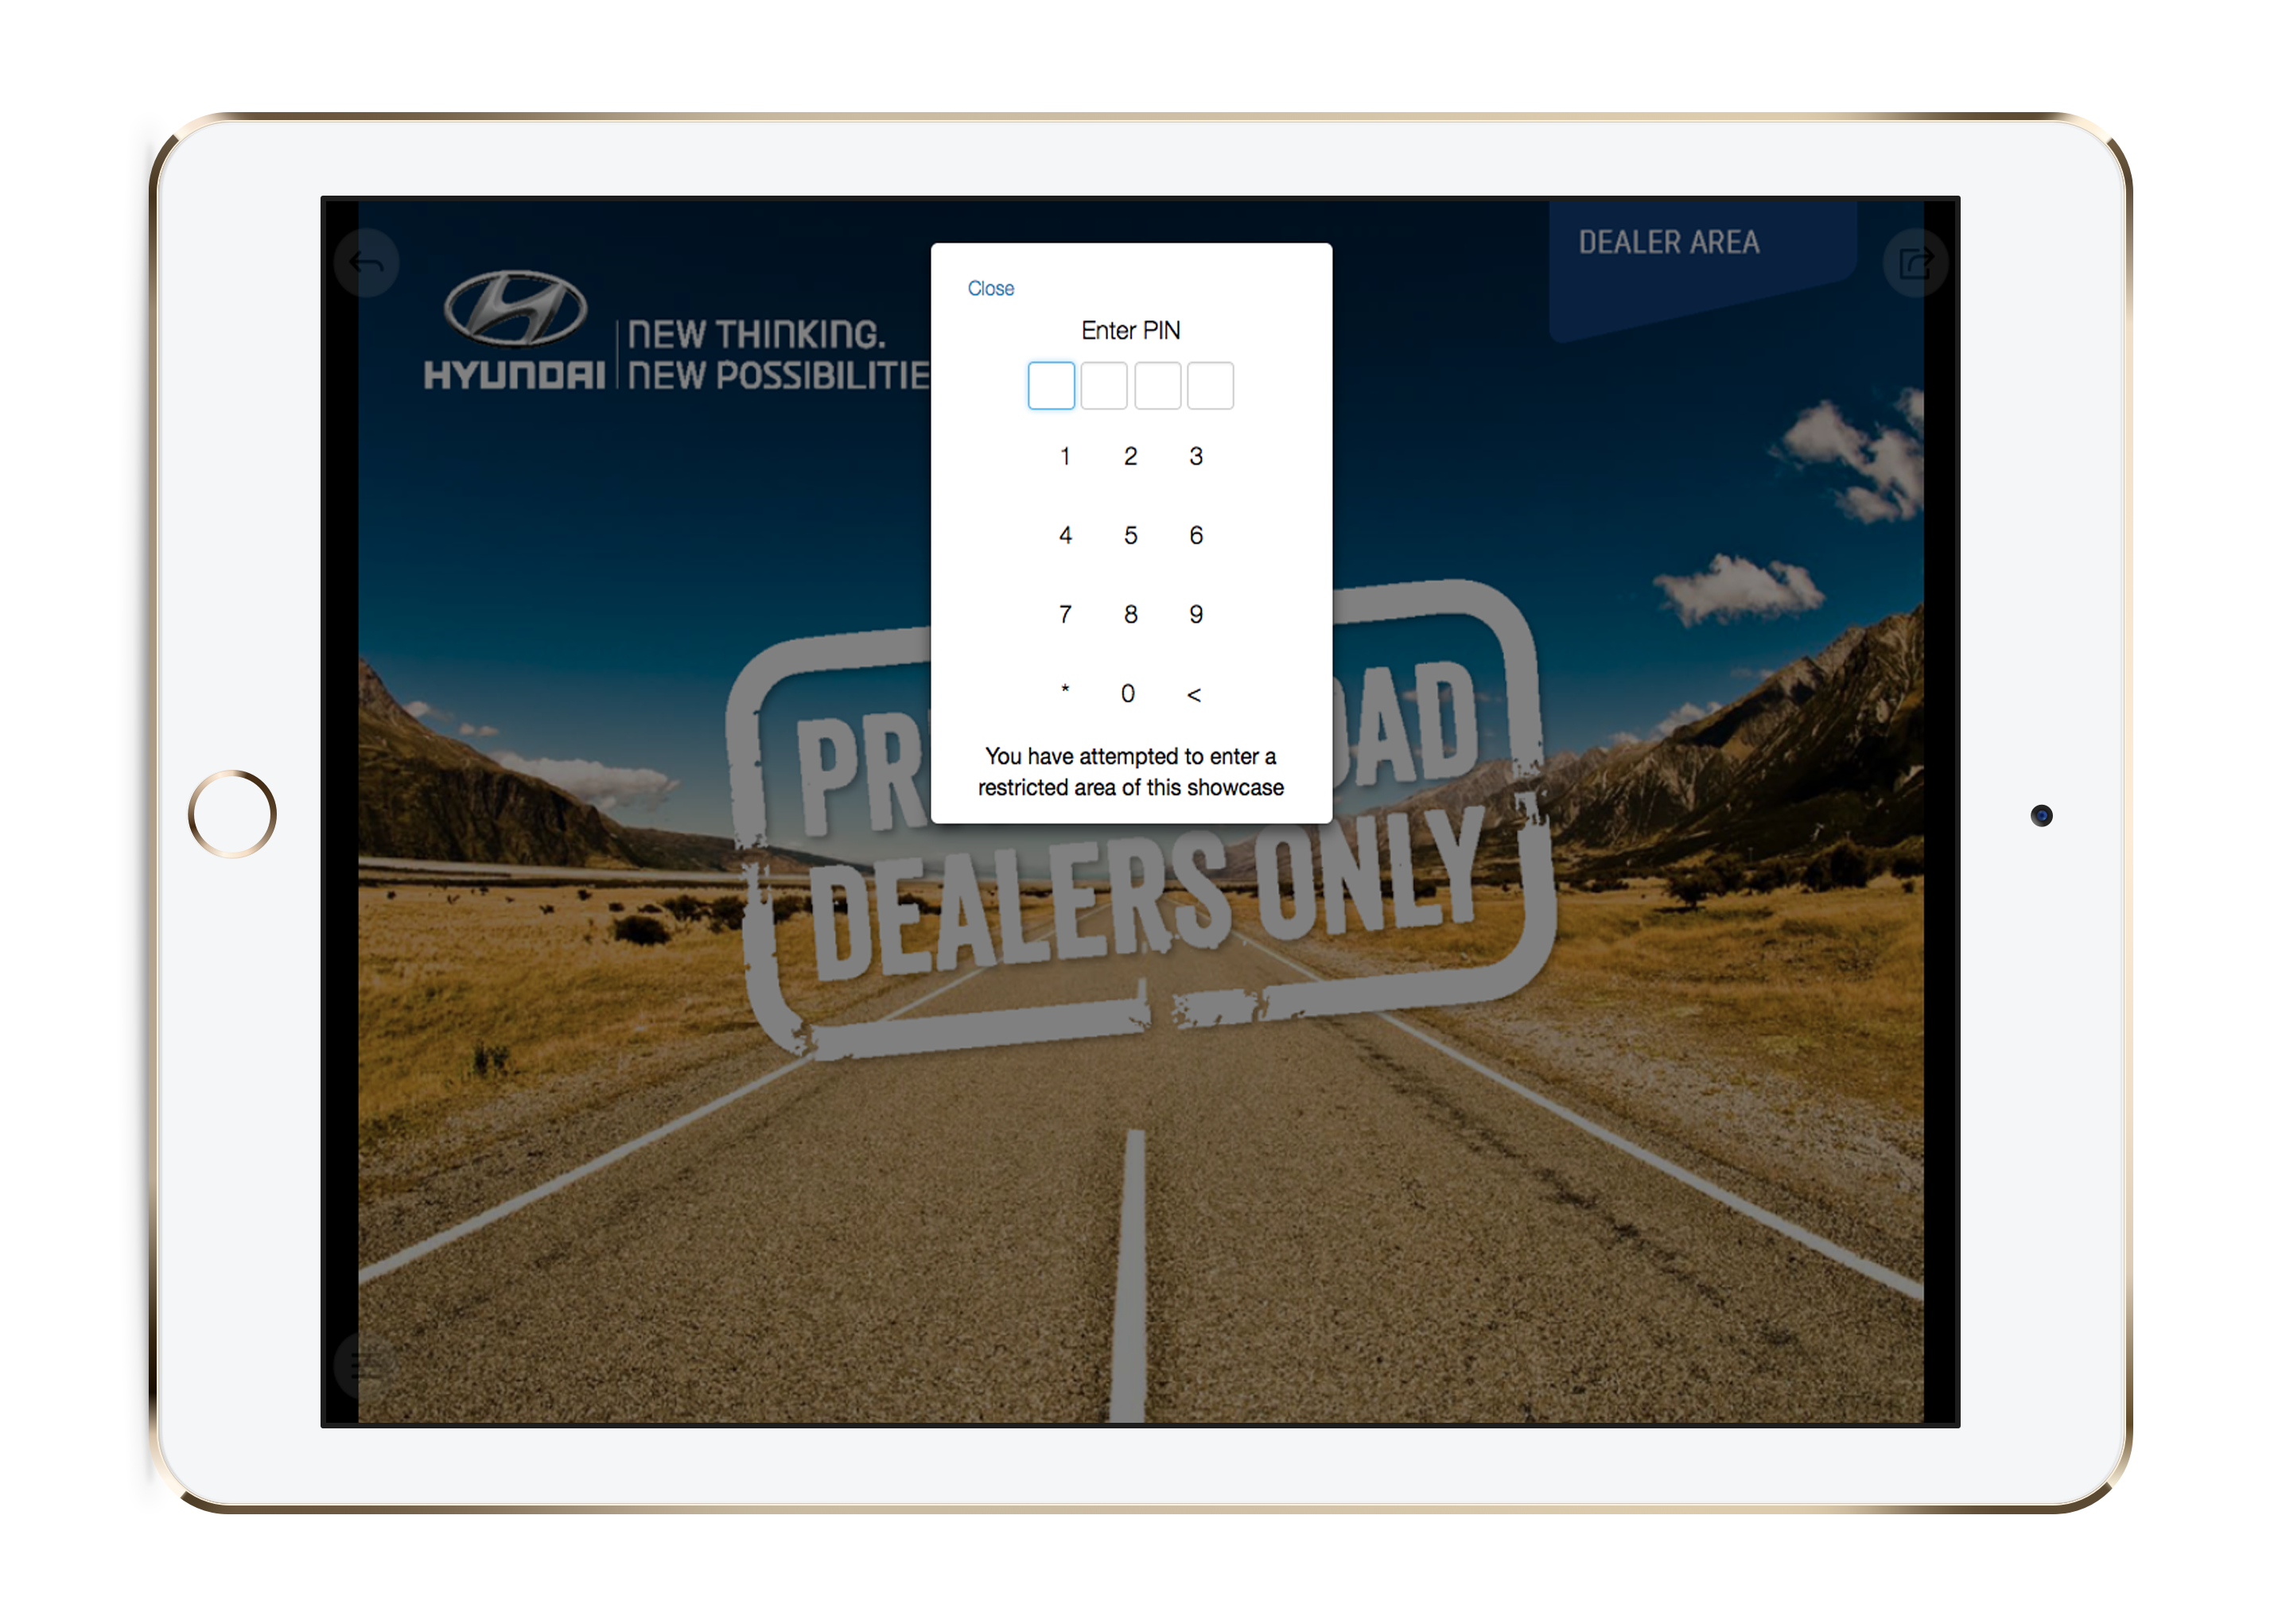
In any hotspot you make, in the right sidebar where you edit your hotspot content and settings - there is an option there called ‘pin protect’. With PIN protection you can create restricted areas in your showcase. Clicking a hotspot with enabled PIN protection will prompt the user for a 4 digit PIN code.
You can set the code to whatever you like (you probably should be something a little more secure than 1234 though), and then you are able to pick and choose whom has that PIN.
There are no limits to how many pin hotspots you can make.
Secure areas:
Going on from the PIN protect, sometimes it is easier to make one entire area that is secure and is labelled as secure rather than just adding PINs to hotspots in general areas.
For example, Hyundai have made this superb restricted area for their dealers. It’s very self explanatory with the words “Dealers Area” and “Restricted Access” emblazoned on the slide so if you are not a dealer, then there’s little chance that area would even have any info relevant to you even if you navigate to this area. This area is pin protected and once you get in, there is a plethora full of information for that selected group of people.
Restricted areas are just an easy tidy way to make sure your users know where to navigate to inside the showcase to find the private or restricted content.
Agreements:
Another way users of Showcase have implemented levels of control over their information and content, is introducing an agreement slide.
It’s usually in the first slide before important content, or the first slide in the showcase but you can put one where ever it suits you.
Essentially, it’s the same thing as clicking ‘Agree’ to the terms and conditions of a website, an app, or competition. The slide itself can have the terms or disclaimer that suits you, and to go onto the next slide the user must tap the “I agree” hotspot.
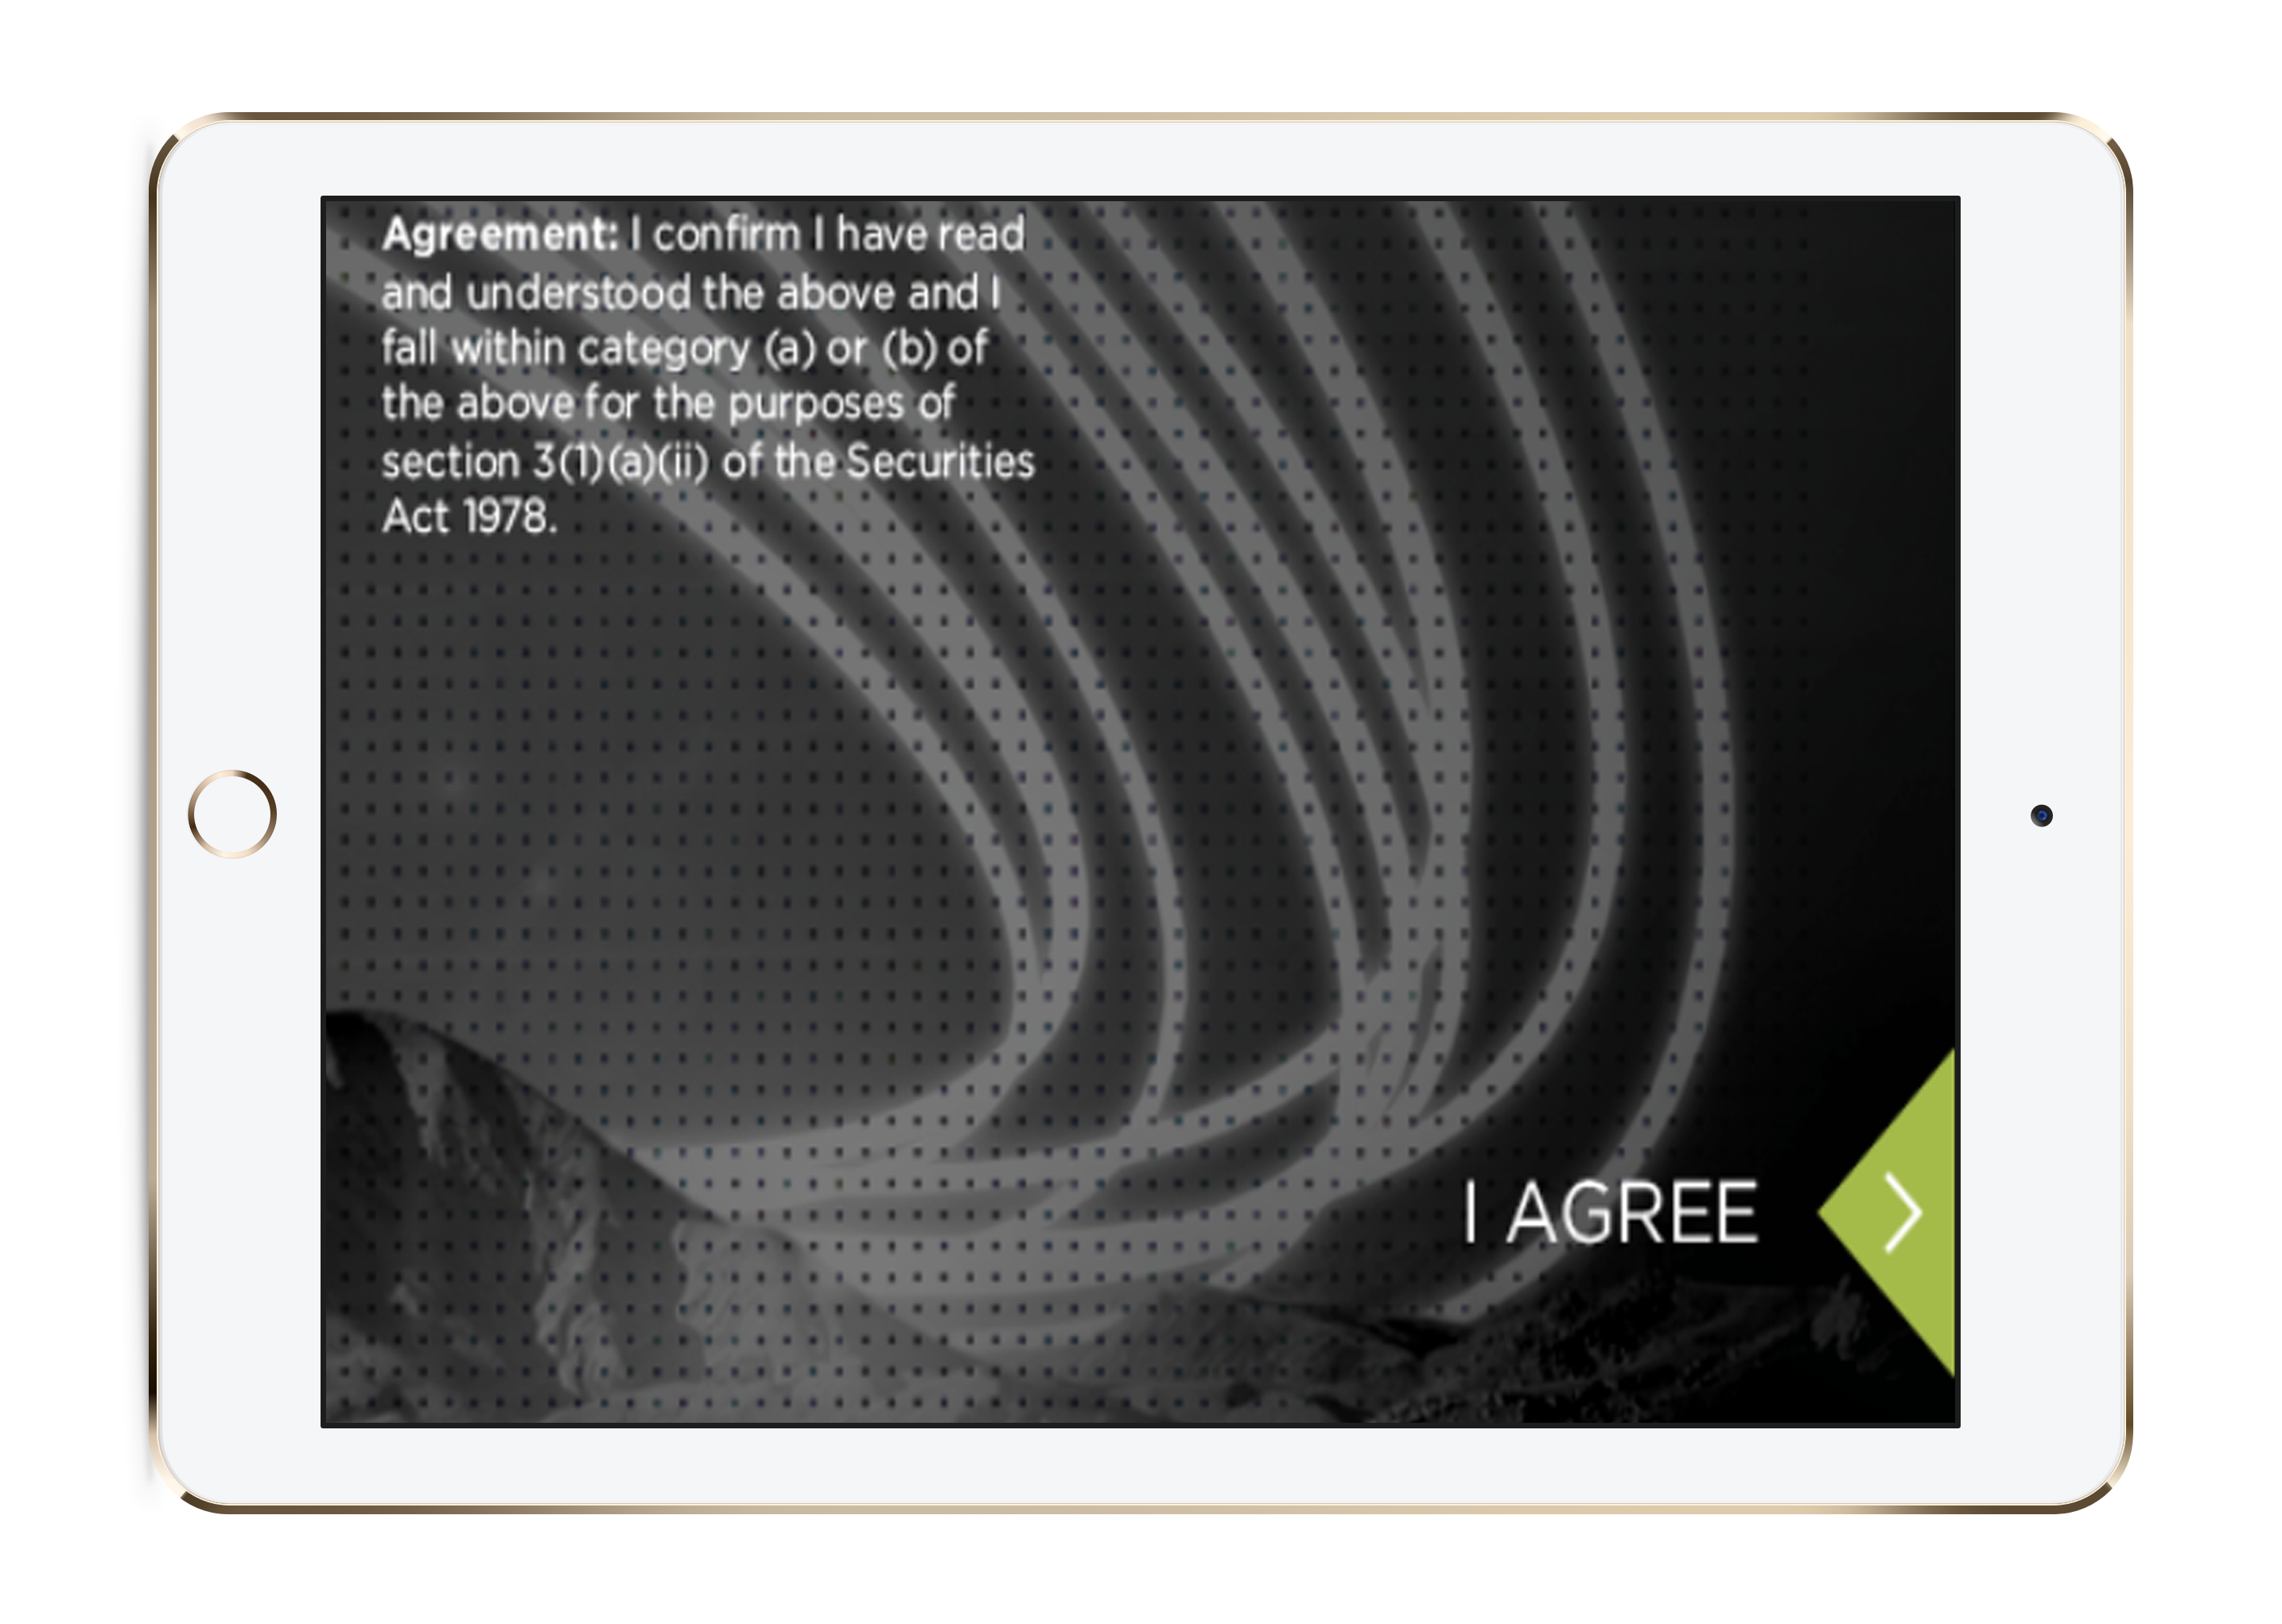
This is used as a safe guard, because they have to agree to see any content at all so they must accept those conditions.
Separate Showcases
Lastly, theres another option that is incredibly helpful for users that have users across multiple regions or have multiple levels of user authority/job descriptions.
If the quantity of content that needs to be available to only a certain group of users, grows to be extremely large - it may be practical to move all of it to another totally separate showcase.
Regions in particular may be better in their own showcases so your showcases stay streamlined and full of accurate information in correct areas.
You could separate showcases into: North Island and South Island, Salespeople and Managers, On site and Off site staff - anything that makes your life (and your users life!) easier.
Once you've created the separated showcase, you can then use the "Manage Access" function to dictate the users or user groups that can access each one.
Now that we've made your showcases more secure than Fort Knox, time for a coffee break eh? If you need to know more or you just want to have a chat about what might work best for you: get in touch with us at helpdesk@showcaseworkshop.com