The bad news? Dropbox is shutting down its centralized sharing feature, Dropbox Showcase, for all users.
The good news? Migrating to Showcase Workshop has never been easier!
From 31 January 2021, Dropbox Showcase will cease to exist. You won’t be able to:
- Create new presentations
- Access existing presentations
- View any analytics relating to your presentations
Luckily, you’ll still be able to access any files in your presentations, since these are stored in your Dropbox account. So, you’ve got a bit of time to figure out your next move at least.
The case for Showcase Workshop
Showcase Workshop is an outstanding — dare I say, even better — alternative to Dropbox Showcase. But I would say that, right?
Here are the cold hard facts:
- Showcase Workshop allows you to create interactive presentations that your sales team can download, present, and share straight from their phone, tablet, or computer. It even works offline!
- With a Showcase presentation, you can import your existing sales and marketing assets and begin creating in minutes. We support photos, PDF and other documents, links, videos, animations, and interactive forms or calculators.
- Admin and Editor users control who has access to each presentation. No need to manage access permissions for each individual piece of content! Plus, you can keep colleagues up-to-date with push notifications whenever you update a presentation.
- Showcase Workshop provides world-class analytics that are actually helpful. Find out when someone views the content you share, exactly which parts of the presentation they look at, and for how long. Use these tailored insights to ace your follow-up call by tapping into what your customer is actually interested in!
- Showcase Workshop gives back by planting native trees right here in New Zealand For every 8,500 slide views, we donate $10 (or one tree) to Trees That Count. So, when you use Showcase, you’re saving trees and planting them. Plus, you’ll save big on printing costs when you switch to digital presentations.
How to migrate from Dropbox to Showcase Workshop
The idea of moving from one presentation management platform to another is daunting, to say the least. We want to make it easier for you, which is why we’ve created this guide for migrating from Dropbox Showcase to Showcase Workshop (the OG Showcase).
Step 1: Sign up for a 14-day free trial
Take Showcase for a test-drive with a fully-featured, 14-day trial completely free of charge (we don’t even ask for a credit card).
If you’re not totally sold yet, you can also grab a free video demo and a member of our team will walk you through everything you need to know about transferring your Dropbox showcases to Showcase Workshop.
Step 2: Transfer your files to Showcase Workshop
As I mentioned earlier, the files you’ve uploaded Dropbox Showcase will continue to exist in Dropbox after 31 January. According to Dropbox you should be able to find them in a folder called ‘Showcase Uploads’.
To make the transfer process easier, you can connect your Dropbox account to your Showcase Workshop account and transfer the files across directly. To do this:
- Open the Showcase Workshop web app and click 'Files' in the top toolbar.
- Click the little cloud icon next to that big orange 'Upload' button.

3. This will open a pop-up box where you can choose Dropbox from the icons on the left-hand side.

Enter your log-in details for Dropbox and select the files you want to transfer.
Voilà! Your file(s) will appear in your File Library ready for you to add to your presentations.
Step 3: Create a presentation with your new files
This is the fun part.
This is where you get to reimagine your Dropbox Showcase as a Showcase Workshop presentation.
With Dropbox, the content in each presentation is organized on a single landing page. But the beauty of our Showcase is that you can organize your content into an interactive presentation across multiple pages.
This is especially useful if you’ve got a lot of information or files you want to share. It means you can design a pathway through your content that your sales team and prospects can follow. They don’t have to guess what they should look at next and will be less likely to miss the most crucial information about your business.
To get started, head back to the Home tab of the web app and click ‘New blank showcase’.
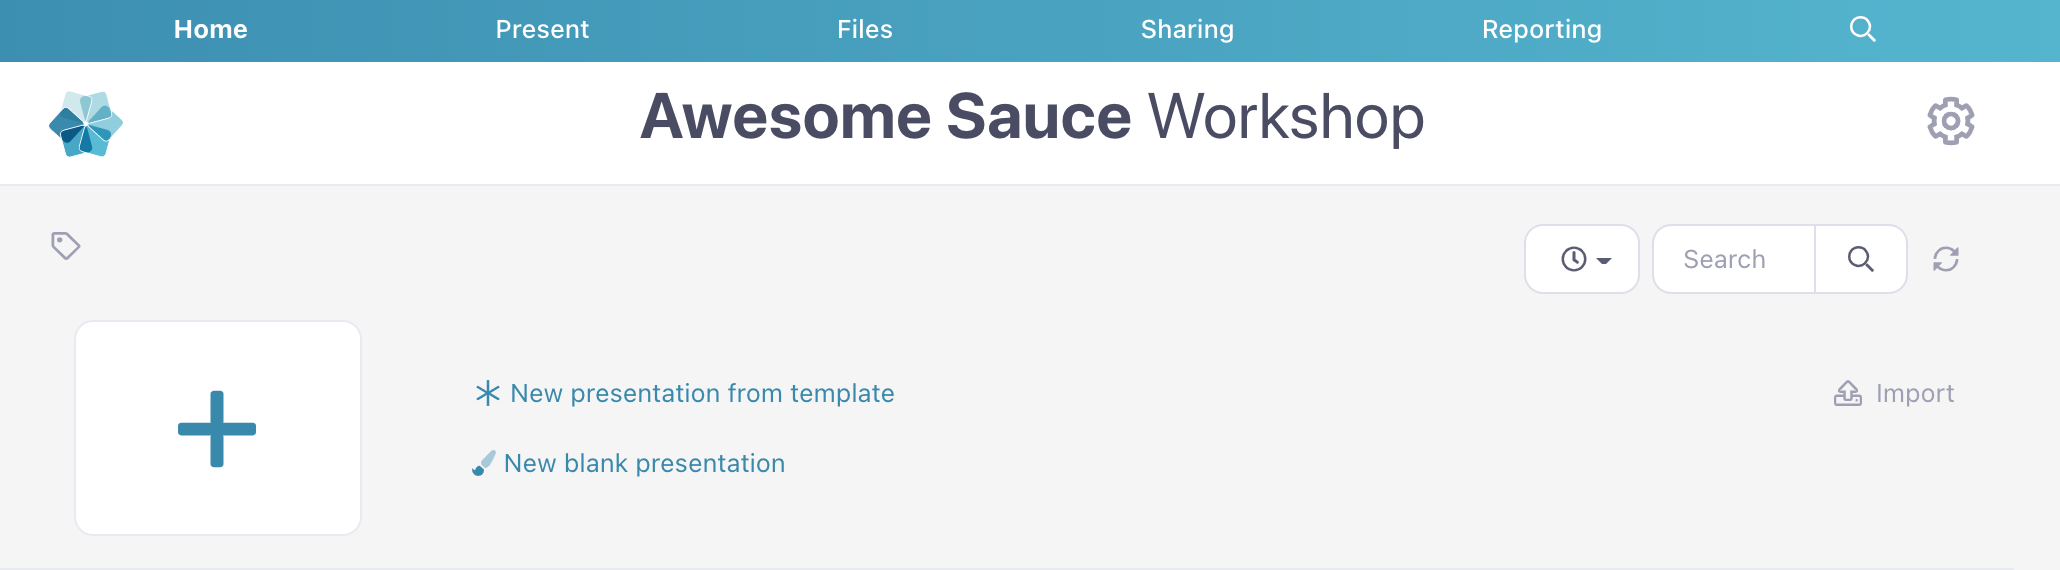
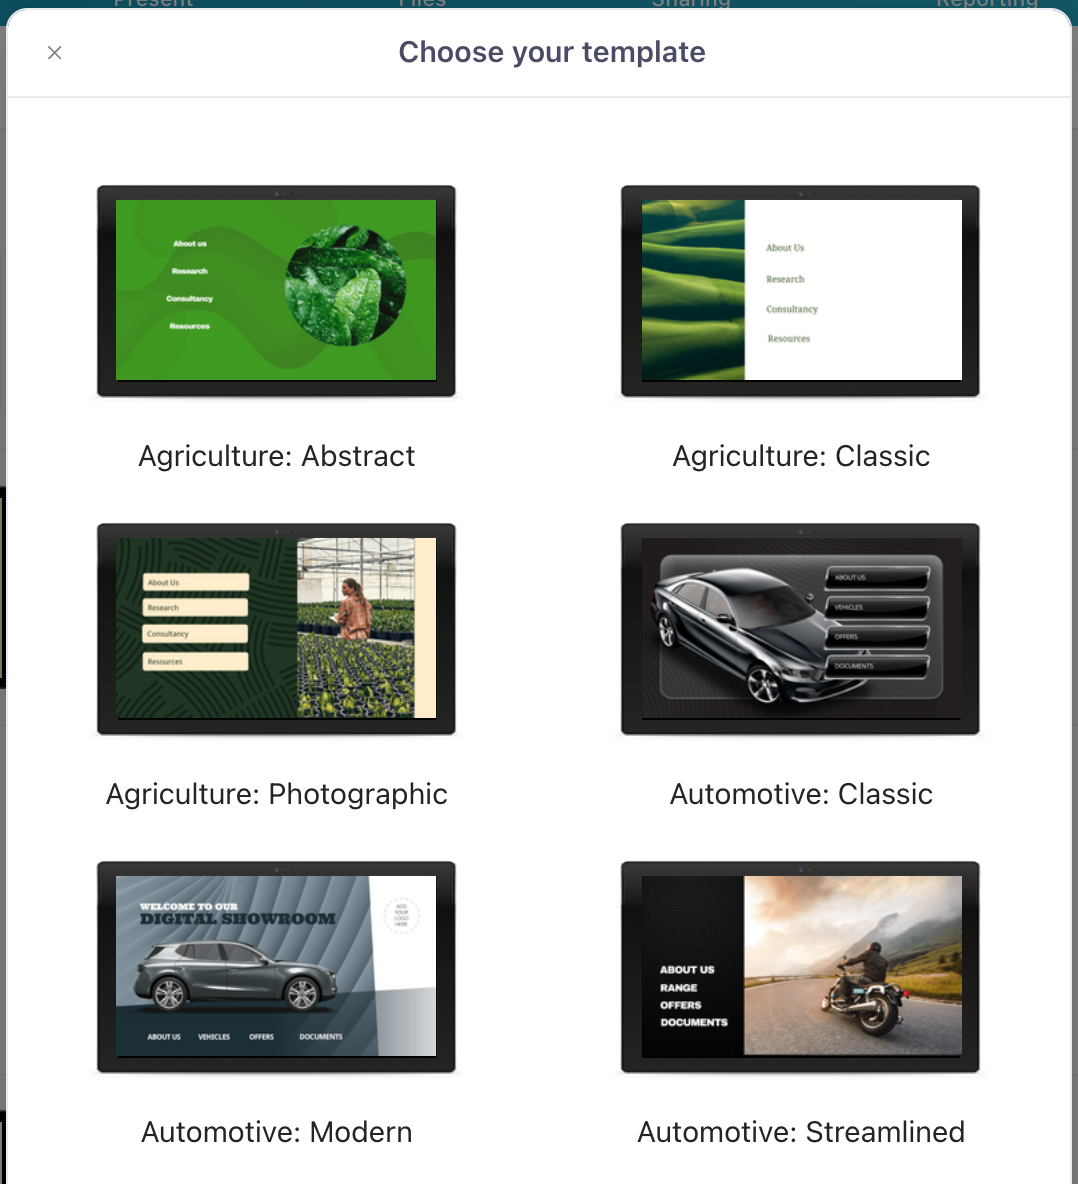
Or, browse our list of pre-built templates by clicking ‘New presentation from template’. They’re all customizable, so feel free to pick one that’s outside your industry if you think it looks cool!
Once your new presentation has generated, click ‘Edit’ to start customizing it. You can also click the title or thumbnail; they’ll both take you to the same place (our flash Editor).

Here are a few things you can do to make the presentation your own (especially if you're using a template):
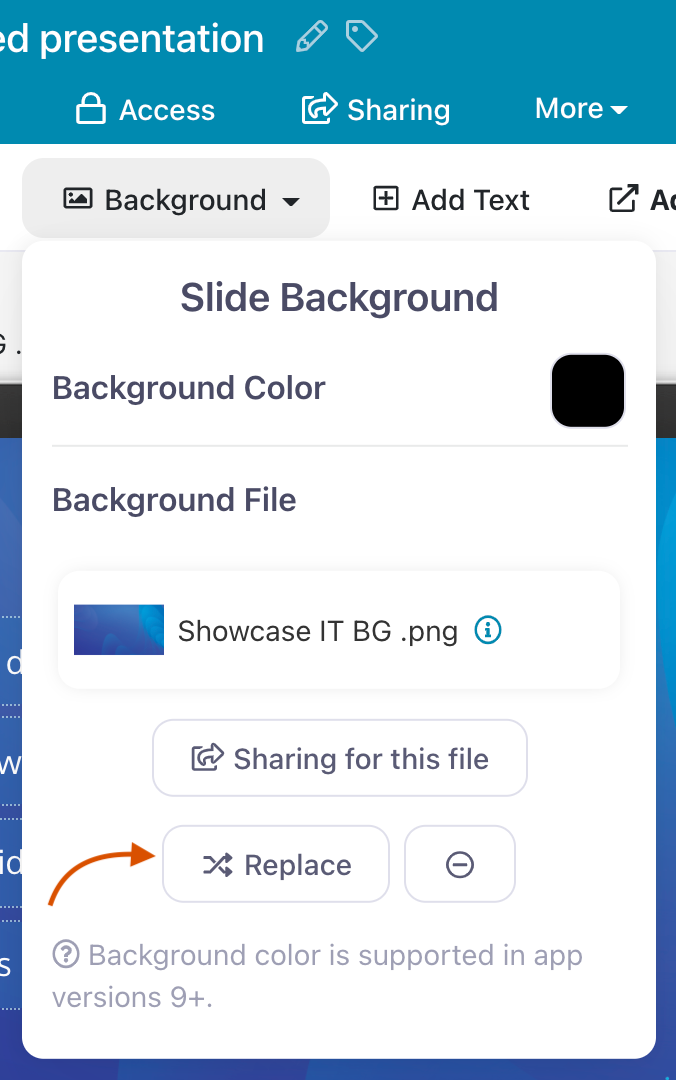
Change the slide background
Your background can be a color, an image, or a cinemagraph. To change yours, click 'Background' in the toolbar above your presentation.

If the slide already has a background image, you'll see details of the file in the drop-down menu. To replace it, click 'Replace' and select a new file. To remove it completely, click the 'minus' icon next to 'Replace'.
If you haven't yet set a background, the drop-down menu will give you the option to do so. You can add a good old-fashioned image by clicking — you guessed it — 'Image'. If you want something a bit fancier, click 'Cinemagraph' to add a GIF or video file to your background.

Clicking either of these options will open your File Library where you can either upload a new file or choose one that's already been uploaded.
Or, you can click 'Color' to add a solid background color to your slide. This is a great option if you want to add images to other areas of your slide.
Add a hotspot or three
A hotspot is essentially a link. It's a tappable or clickable area that users click to get to another part of your presentation — whether that's a file, a video, or another slide. They also double as text or image boxes if you want to add some content without linking it to anything!
To create a hotspot, click 'Add Hotspot' in the toolbar above your presentation.
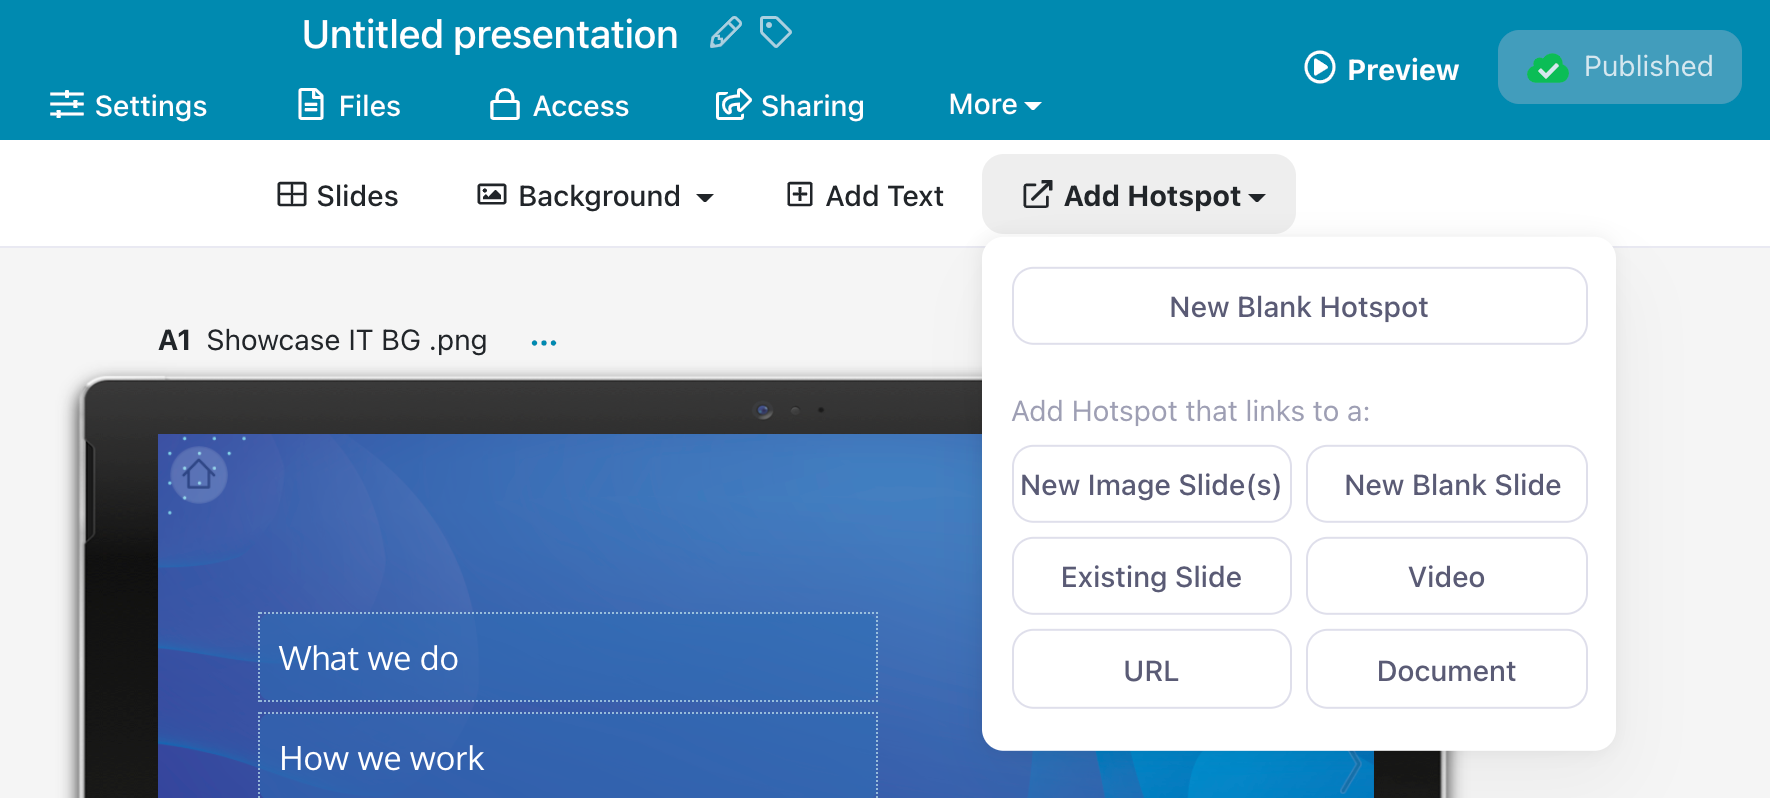
You can choose to add content at this point or leave the hotspot blank. For now, let's create a blank hotspot.
Clicking 'New Blank Hotspot' will create a transparent box on your slide that you can move and resize as you like.
Take a look at the screenshot below. See the lightly dotted lines around the menu items? Those are the hotspots. The lines are only visible from the Editor and will completely disappear when someone views the presentation.
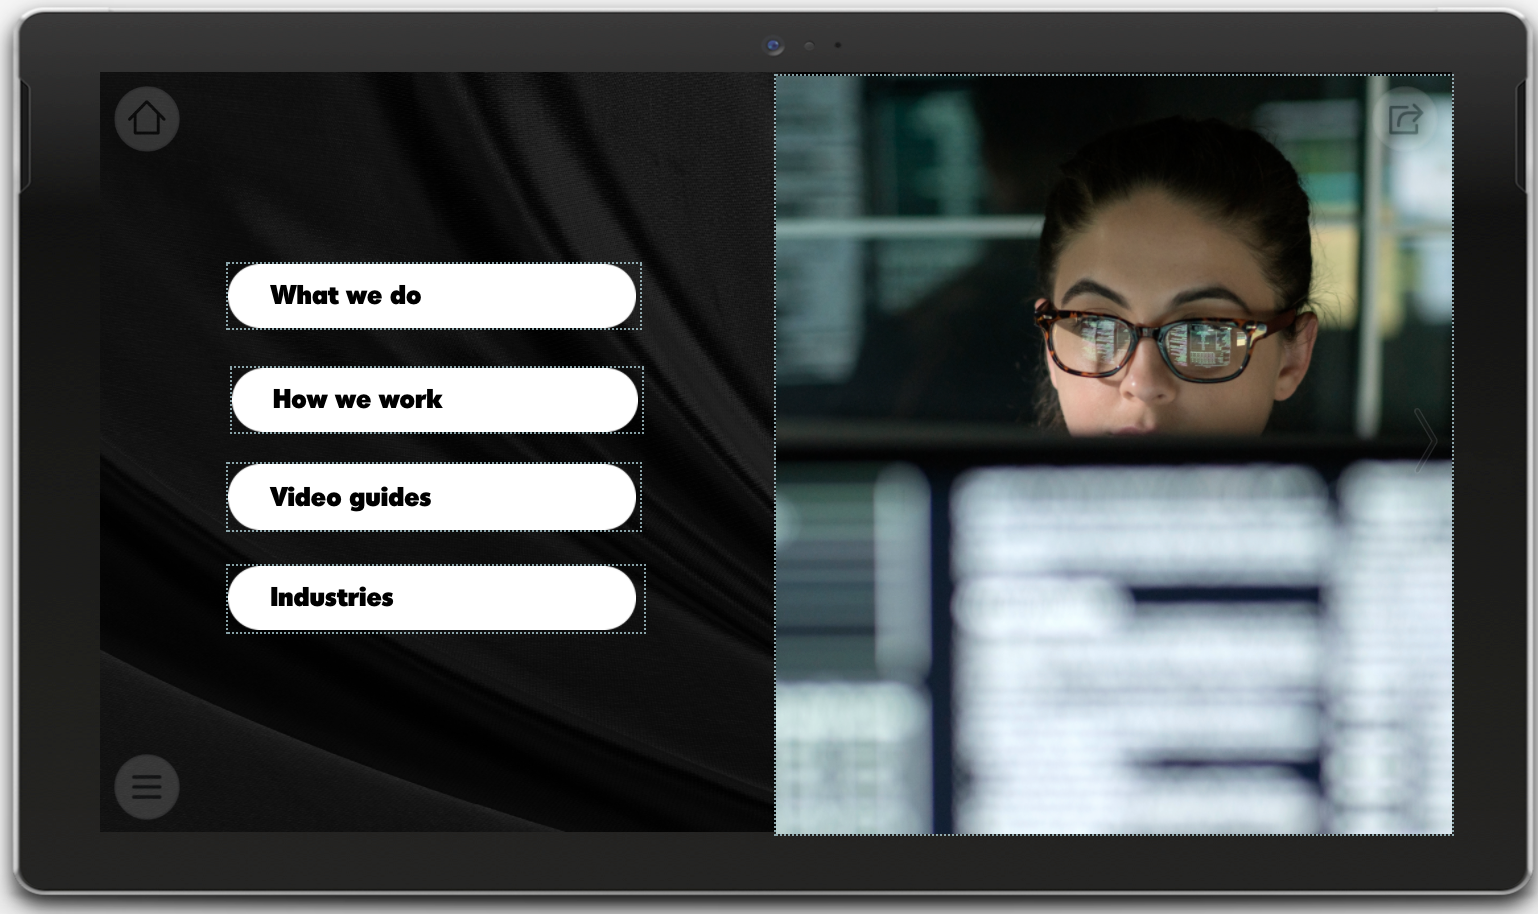
You can edit your hotspot to make it look more like a button — so users know exactly where to click. When you select your hotspot, you'll see some new formatting options appear above your presentation. Use these to add color or images, and format any text.

Add content to your hotspot
This is where you get to use all those files you transferred from Dropbox Showcase earlier. To add content, select the hotspot you just created and click 'Add content' from the menu above the presentation.
From the drop-down menu, choose the type of content you want to link (image, video, document, etc).
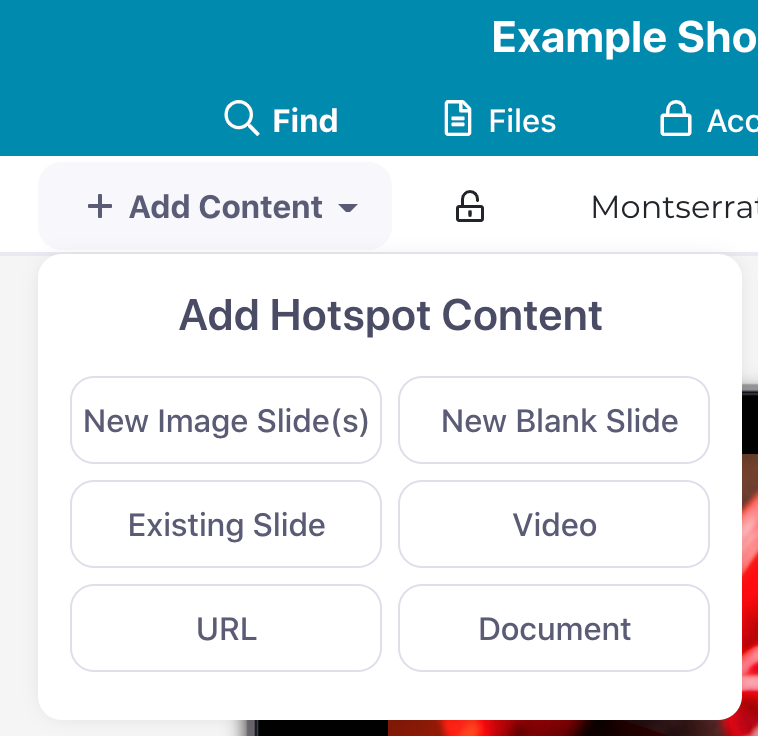
Unless you're adding a URL, blank slide, or link to an existing slide, this will open the File Library where you can find one of the files you uploaded earlier.
Hot tip: If you've got lots of files, use the Search bar at the top of the File Library to find files quickly!
Add more slides or submenus
Think of the first slide in your presentation as the jumping-off point for your sales team and prospect. Rather than a single, scrollable page with all your content, this first page will contain links to your files, images, videos, or even external websites.
Chances are, you've got a lot of files you want to link to.
Rather than clutter up your first slide with links to every piece of content you have, you can create links to secondary slides that will act as 'submenus'.
You'll use hotspots to create new slides. Using the steps above, create a hotspot (or select an existing one) and select 'Add Content'.
This time, instead of linking to a file, select 'New Blank Slide' (if you want to start fresh) or 'New Image Slide' (if you have a slide background image ready to go).
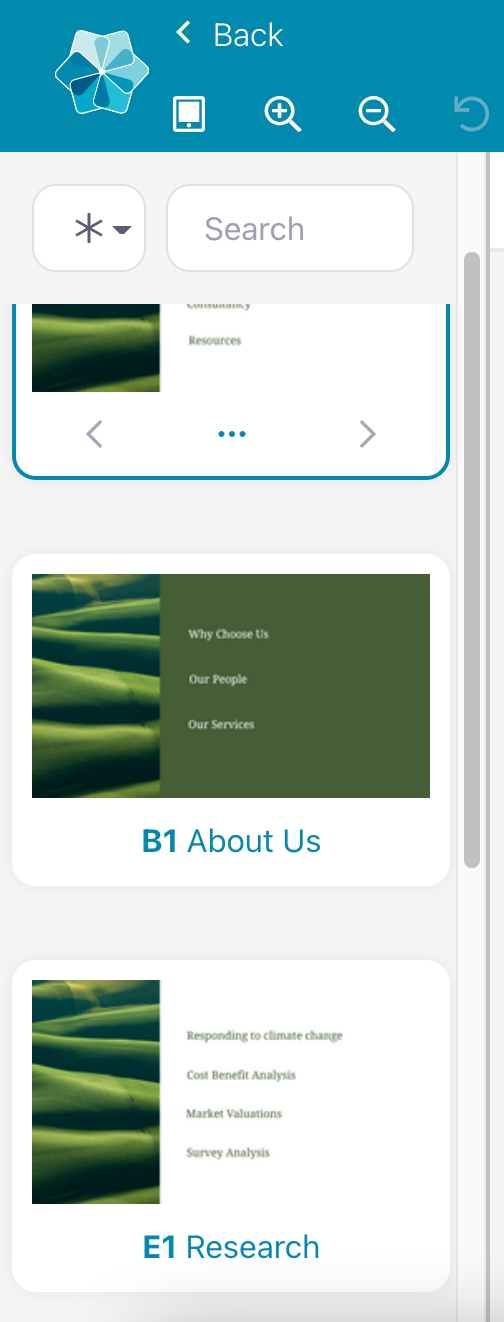
This will create a new slide. You can keep track of your slides in the list to the left of your presentation.
From here, you can format your new slide and add content to your heart's content!
Step 4. Publish and share your presentation
Once you've got your presentation looking pretty, hit the 'Publish' button in the top right corner of the screen.

You and your users will now be able to access the presentation from your phone, tablet, or computer via the Showcase Workshop app.
From here, you can share the presentation — or parts of the presentation — with prospects via email, link, or VIP Pass. We've got a whole other blog about the different sharing options and how you can use each one, so make sure you check it out for the full breakdown.
In general, VIP Pass is the option most closely aligned with Dropbox Showcase. It's a fully-customizable link that takes your prospect straight to your presentation and content. It's ideal if you want to:
- Share your presentation on social media.
- Share your presentation with a large group of people for a limited time.
- Make it absurdly easy for your prospect to access your content.
If this all sounds a bit daunting to you or you want a hand migrating your files from Dropbox Showcase to Showcase Workshop, get in touch and we can talk you through your options!